Adding New Members to The Private Cloud
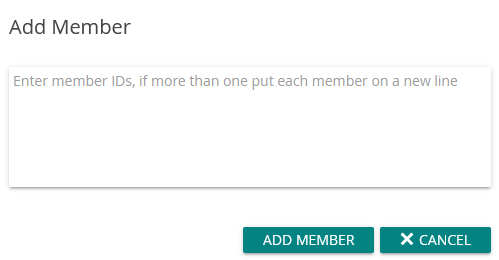
To add new client, referred to as ‘Members’, click on the ‘Members’ tab in the upper navigation pane of the ‘Private Cloud’ module. Once in, select the ‘Add Member’ option, highlighted below. The below popup window will appear, prompting you to enter a new member name or a list of member’s names each on their own line. Click ‘Add Member’ to add them to the members table.
 After adding a new member you will need to generate a PC file for that member to connect to the private cloud. To generate a new PC File, select the client from the member list and click “Download PC File”. A new PC File will be locally downloaded through your browser. To generate PC files for a group of members, you can click on Generate Access Files, which generates PC files for all members in a single location on the server machine. Each client device will need a unique PC file at install time.
PC File: PC files help create a secure connection between the server and a specific client member. A unique PC file must be created for each member. The PC file will be requested by the installer when installing the client. A new one will also be needed if changes are ever made to the port or domain name in the PC settings.
Generating a PC File: Bulk generating all PC files can only be done on the server.