
Purpose
This integration is useful is situations where remote clients do not have direct access to SharePoint or OneDrive.
Overview
Binfer integration with SharePoint is achieved via OneDrive. OneDrive syncs all files in the local directory with the connected SharePoint library. Binfer syncs files in those folders with remote clients.
Prerequisites
- SharePoint account with a document library available
- Binfer Enterprise Sync is already installed, configured, and running on the local computer
- OneDrive is installed on the same computer as Binfer Enterprise Sync
- Admin access to the machine running Binfer Enterprise Sync is available
Steps
1. Link SharePoint & OneDrive
The first step to get files syncing between SharePoint and OneDrive running on the local server. To do this please follow Microsoft’s Documentation on Syncing SharePoint files and folders.
2. Link Binfer and OneDrive
Once OneDrive has been successfully setup to sync files to and from SharePoint, Binfer Enterprise Sync needs to be setup to ensure OneDrive is always running when it is running.
- Log into Binfer Enterprise Sync console and navigate to the SETTINGS > DOWNLOADS
- Under the NAS Mappings Command there is a box where CMD commands can be entered. Enter the following command, replacing %FULL_PATH% with the full path to OneDrive.exe
%FULL_PATH% /background
NOTE: The full path to the OneDrive.exe can usually be found under {USER}\AppData\Local\Microsoft\OneDrive where {USER} represents the home directory of the user account that completed the Syncing SharePoint Locally step - Save this command
- Restart Binfer Enterprise Sync
3. Set Windows to Auto-Login
OneDrive will not start until the user account that it is registered to has logged in. Due to this, the steps below are outlined to ensure that OneDrive starts every time the machine is restarted.
For Windows 10
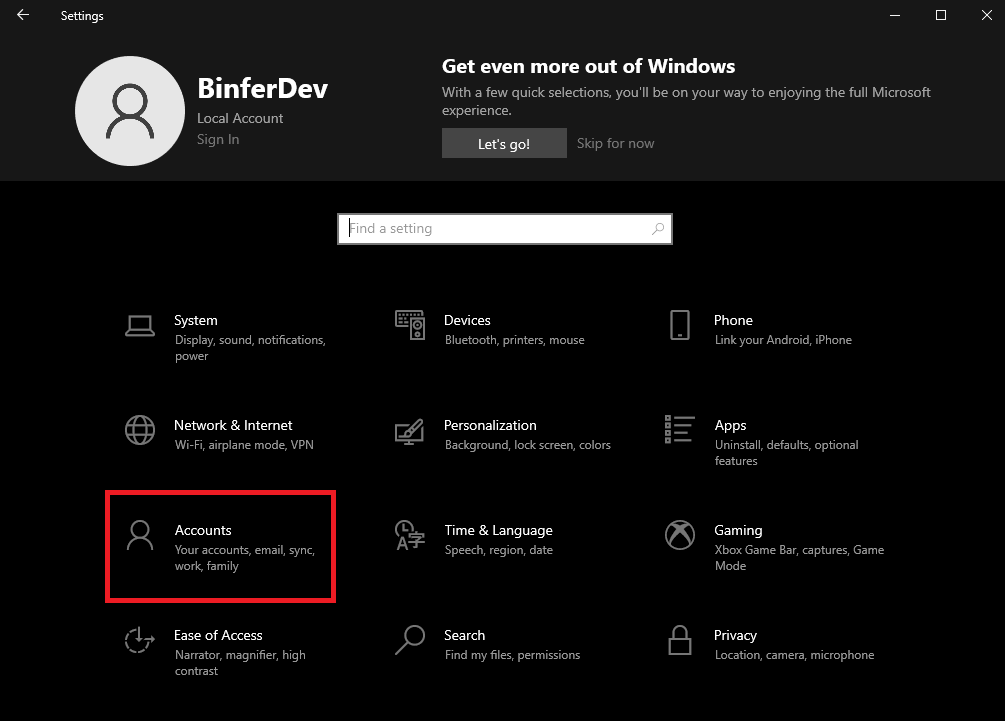
- Open Windows settings by searching ‘Settings’ from the Windows search bar
- Click ‘Accounts’
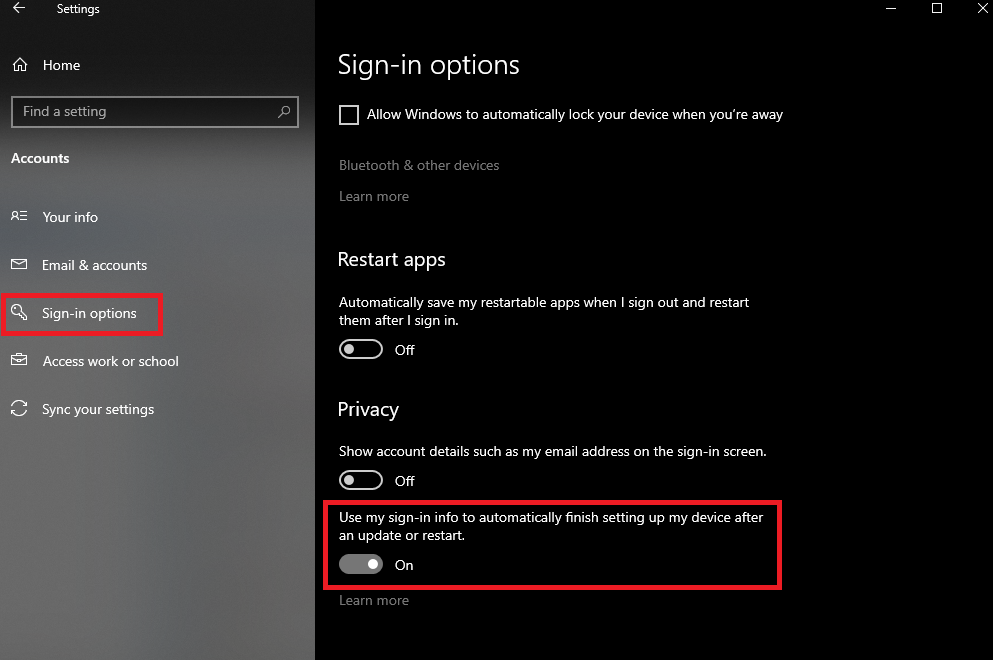
- Click ‘Sign-in options’ on the left-hand menu, then scroll down to the option “Use my sign-in info to automatically finish setting up my device after an update or restart.”
For Windows Server (Windows2018 and Windows2022)
On all versions of Windows Server auto logins are disabled by default. There is a Microsoft utility called Autologon that allows to setup automatic logins for the machine.
- Download Window’s security utility AutoLogon from here: Autologon – Windows Sysinternals | Microsoft Docs
- Unpack the zip file into any directory
- Double click Autologon.exe to launch the exe
- Enter the necessary credentials and click Enable
- The popup should confirm that Autologon is setup
Note: Autologon does not do credential validation so if it does not work after the first try then double check the credentials.
4. Creating Binfer Rules
Sync rules created by Binfer must use the folders monitored by OneDrive.
- Update SETTINGS > DOWNLOADS > Download Settings to a root folder that is monitored by OneDrive. This will ensure all data arriving from clients is received under the folder monitored by OneDrive
- If clients need to send data directly to a specific folder in SharePoint, then the Destination folder pointing to a SharePoint folder must be set on the client side rule
All files that arrive via Binfer, into the directory monitored by OneDrive, will sync back to SharePoint.
Syncing the OneDrive Root Folder
OneDrive keeps a hidden file on the file system that keeps track of the connected OneDrive ID. This file cannot be seen on the file system even when view hidden items is enabled, but Binfer will detect it. Due to the fact this file does not technically exist on the file system, Binfer will be unable to sync it. Below are the steps outlined to exclude that file from the sync rule:
- On the machine running OneDrive and Binfer, open a PowerShell window by searching PowerShell in the windows search bar.
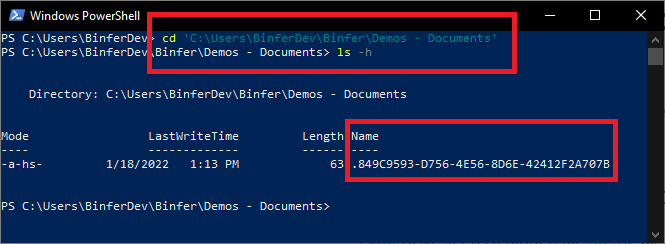
- Run the command cd ‘{SHAREPOINT_ROOT}’ where the {SHAREPOINT_ROOT} represents the root folder of the SharePoint directory. For example, in the screenshot below, the root directory is C:\Users\BinferDev\Binfer\Demos – Documents
- Run the command ls -h to be able to see the name of the hidden file as shown in the screenshot below
- Open the Binfer Enterprise Sync console and create the sync rule. Take the name of the file found in the previous step and copy it into the Exclude pattern textbox under the SCAN options before creating the rule.